


Starting a vegetable garden can feel overwhelming — bad soil, not enough space, or worrying that you simply don't have a green thumb. The good news? Raised beds eliminate nearly every obstacle that stops beginners from growing their own food.
In this guide, you'll learn everything you need: the key benefits of raised beds, which materials to use, how to build and fill your bed, what to plant, and how to keep things thriving through your first season.
Every successful gardener started exactly where you are. Let's walk through why raised beds give beginners the best chance at a thriving first garden.
Key Takeaways
- Raised beds give you complete control over soil quality — no need to fight native clay or contamination.
- Safe materials like cedar, redwood, or galvanized steel are best for food gardens.
- Fill your bed all the way to the top with a quality soil mix (topsoil + compost + perlite).
- Best starter vegetables: lettuce, cherry tomatoes, bush beans, radishes, and herbs.
- Water deeply 2–3 times a week; mulch to retain moisture and reduce weeds.
- Start small — one 4×4 bed beats an overwhelming 10×10 plot every time.

Why Raised Beds Are Perfect for Beginning Gardeners
Raised beds give beginners a decisive edge over traditional in-ground gardens. Instead of fighting your existing soil, dealing with drainage problems, or wrestling with chronic back pain from kneeling in the dirt, a raised bed lets you start fresh on your own terms. Here are the four biggest advantages:
Complete Control Over Your Soil
One of the biggest challenges in traditional gardening is poor native soil — compacted clay, sandy dirt, or even contaminated urban soil. With a raised garden bed, you fill it with exactly the growing mix vegetables need. No amending, no testing years of clay, no guesswork. This is especially valuable for families in suburban neighborhoods where soil quality is unknown.
Fewer Weeds and Easier Pest Management
The elevated structure of a raised bed acts as a physical barrier that dramatically reduces weed seed germination from the ground below. Many ground-level pests also have a harder time getting established. And because you're not bending as far down, maintenance stays quick and comfortable — making it more likely you'll actually do it.

Better Drainage and Earlier Planting
Raised bed soil warms up faster in spring than ground soil — sometimes weeks earlier — which means a longer growing season. Excess water drains freely rather than pooling around roots, preventing root rot. If your backyard has heavy clay or low spots that flood, a raised bed solves both problems at once.
Accessibility for All Ages and Abilities
Standard raised beds sit 12–18 inches off the ground, reducing the bending and kneeling that makes traditional gardening hard on knees and backs. They can be built to a custom height — even waist-high — for family members with mobility limitations. Kids love them too, since they can reach plants easily and stay engaged all season.
What to Use for Raised Garden Beds: Choosing Safe Materials
The most important rule: use only natural, food-safe materials when building a raised garden bed that will grow vegetables. Here are the best options:
- Untreated wood (cedar or redwood) — Naturally rot-resistant and the most popular choice. Affordable and easy to work with.
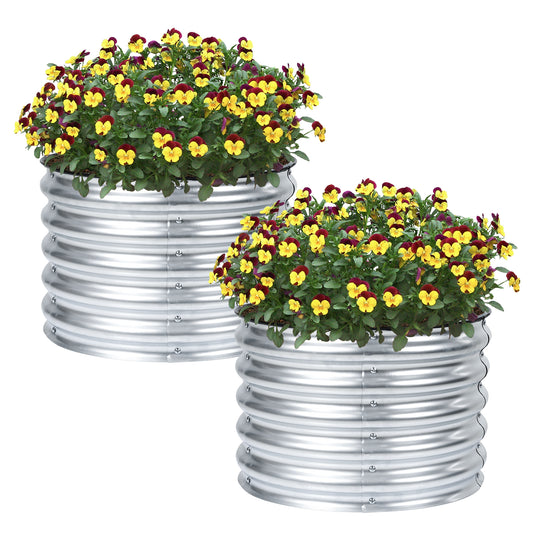
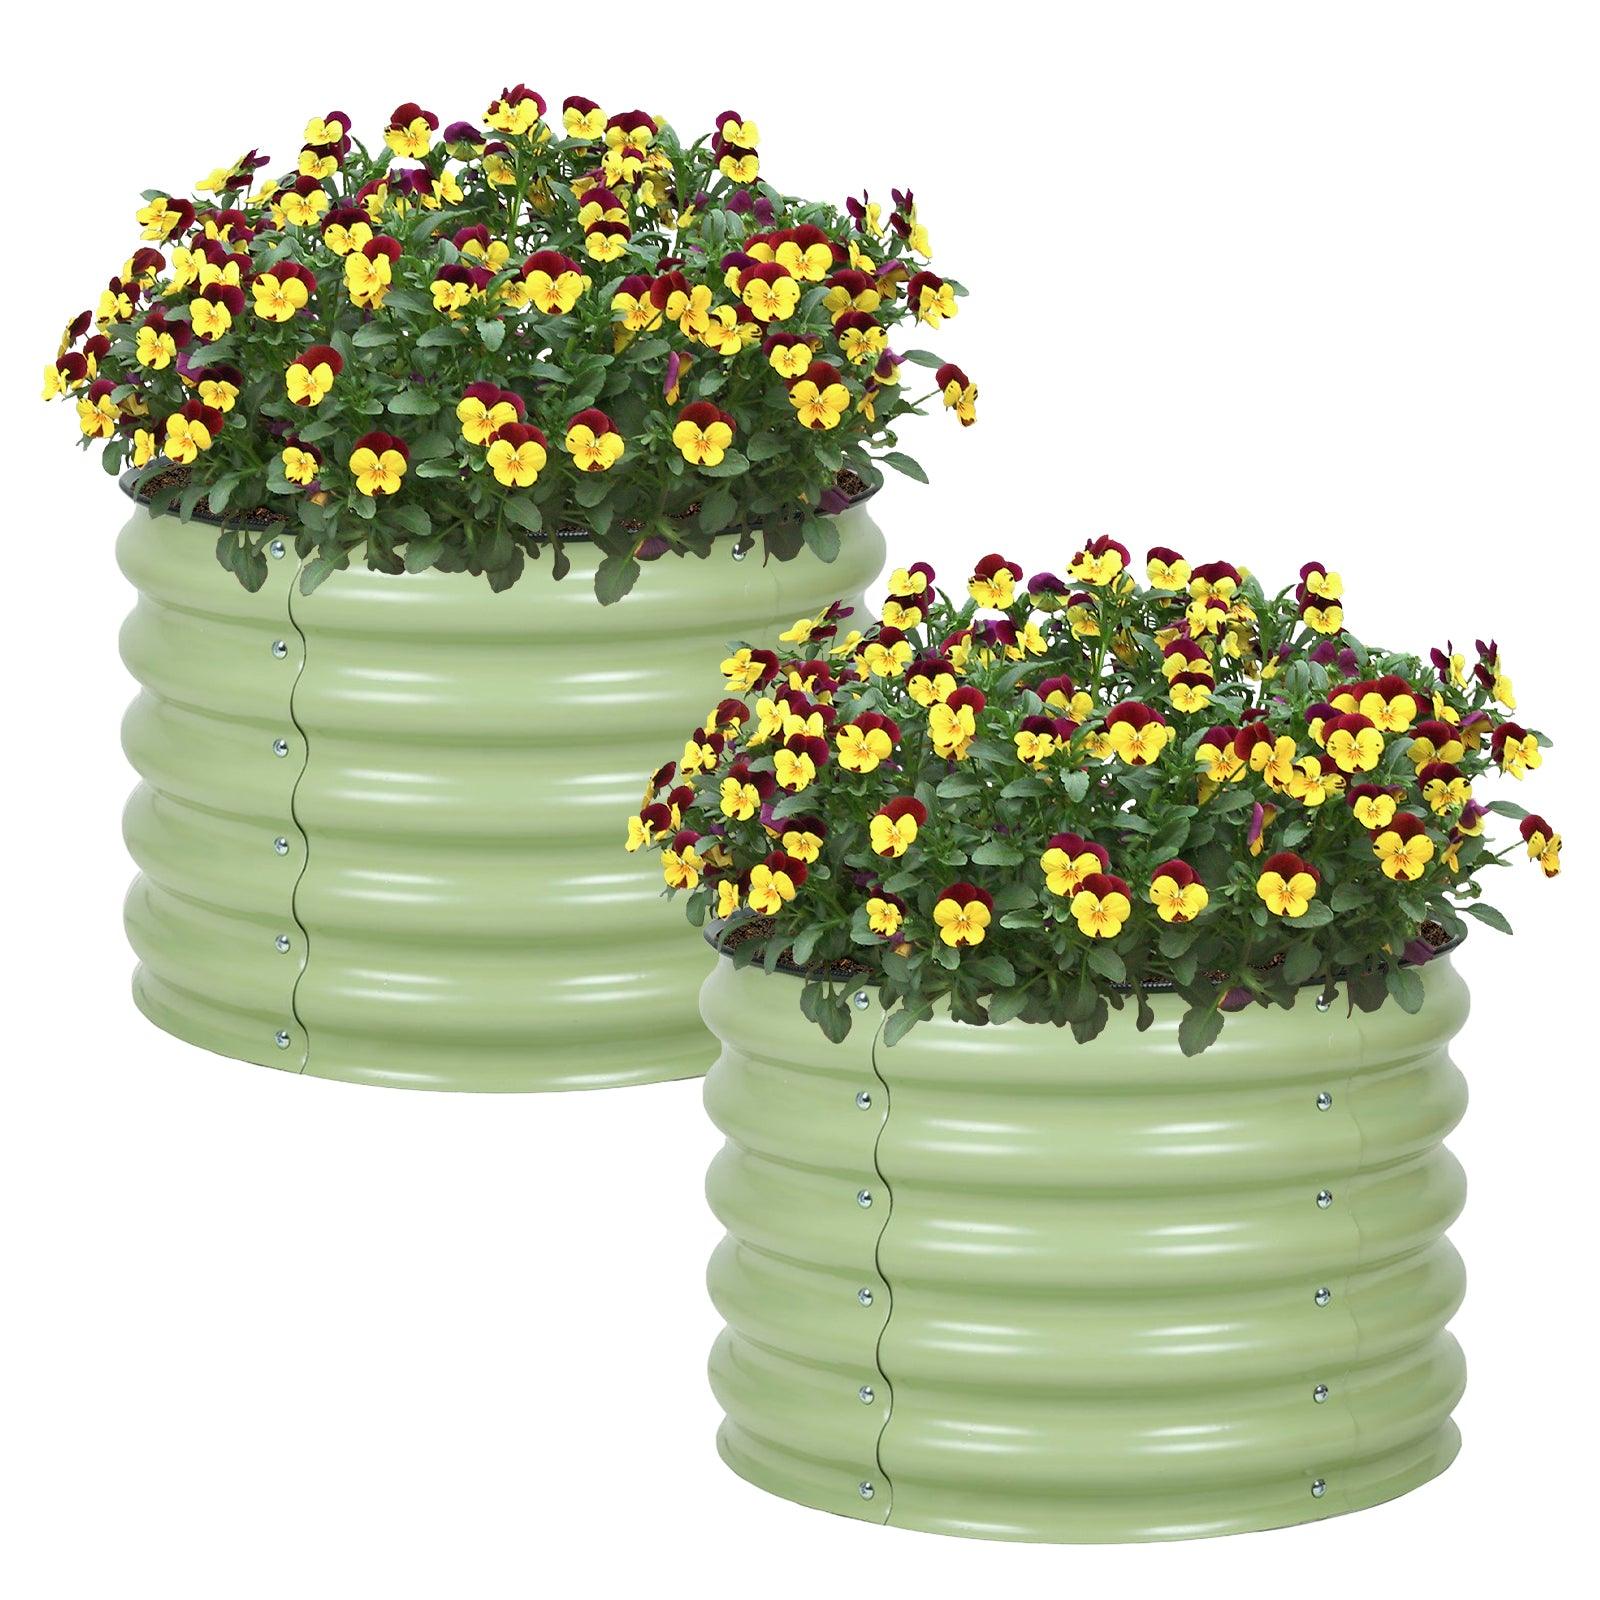
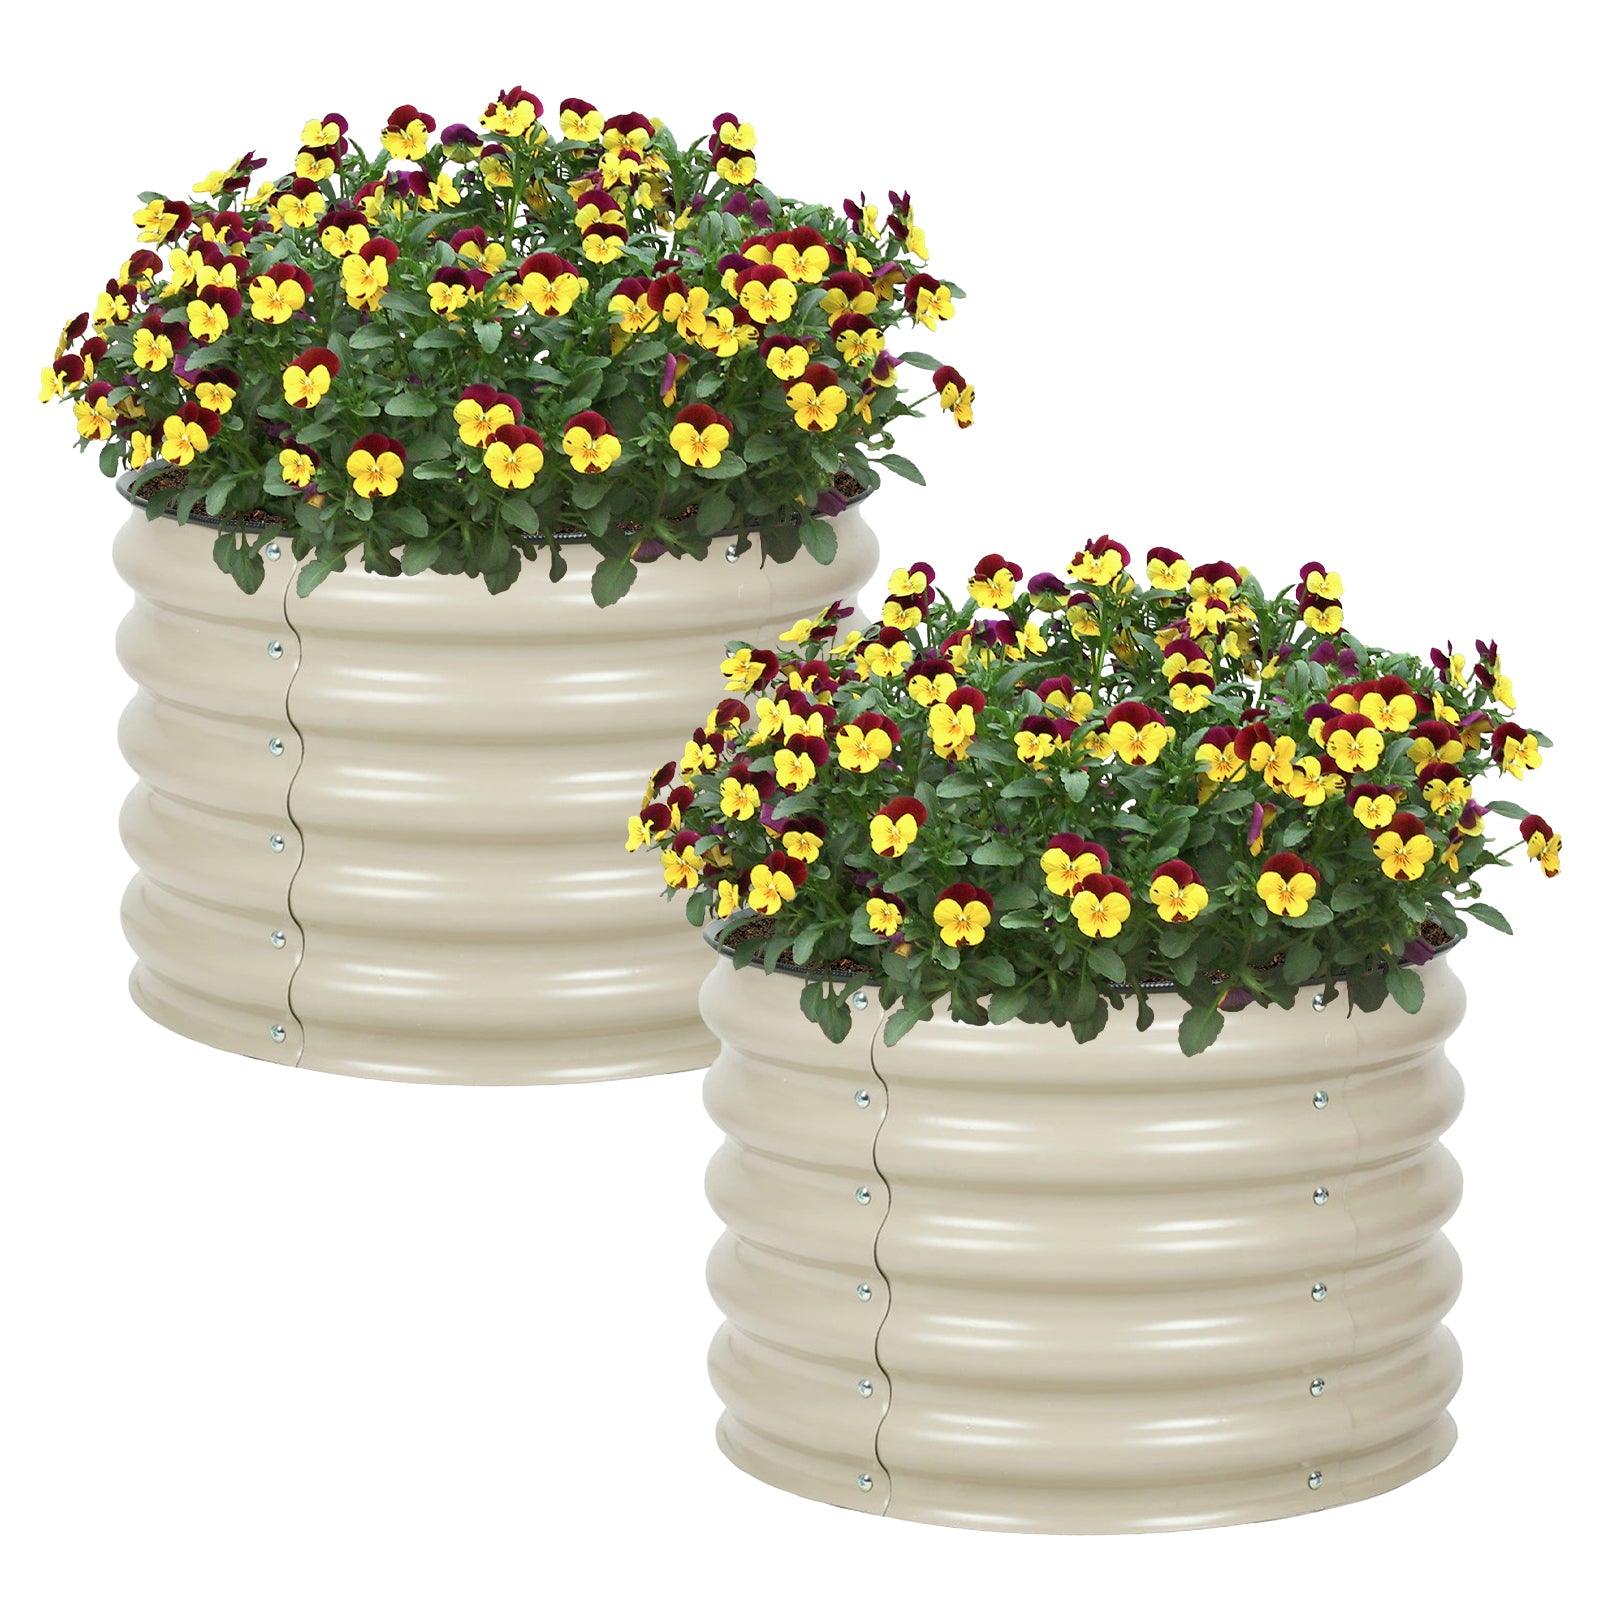
- Galvanized or corten steel — Long-lasting, modern aesthetic, and excellent for larger builds. Check out Aoodor Shop's garden supplies for ready-made options.

- Stone or concrete blocks — Permanent and heavy-duty, ideal if you never plan to move the bed.
- Natural fiber / felt beds — Lightweight, portable, and budget-friendly. Great starter option.
Materials to avoid:
- Treated or pressure-treated lumber — Chemical preservatives can leach into soil and into your food.
- Railroad ties — Often soaked in creosote, a known contaminant.
- Tires or plastics — Break down over time, releasing chemicals into the growing medium.
Budget tip: You can build effective beds from scrap untreated wood using stakes instead of corner hardware — function over form works perfectly for your first season.
Browse Aoodor Shop's garden supplies collection for raised bed kits and accessories.
How to Set Up a Garden Bed: Step-by-Step Build Guide
Follow these seven steps to build your first raised bed correctly from the start:
Step 1 – Choose Your Location
- Sunlight: Vegetables need a minimum of 6–8 hours of direct sun each day. Prioritize a south-facing spot.
- Water access: Place your bed within easy reach of a hose or outdoor spigot.
- Convenience: The closer to your kitchen, the more often you'll harvest — and harvesting regularly encourages plants to keep producing.
Step 2 – Determine the Right Size
- Recommended dimensions: 3–4 feet wide × 6–8 feet long × 12–18 inches deep.
- Width rule: You should be able to reach the center from either side without stepping into the bed.
- Length: Keep it under 8 feet to prevent bowing and make it manageable.
- Depth matters: Fill it all the way to the top. Two inches of soil cannot support deep roots or crops like carrots.
- Start small: One 4×4 bed is far better than an overwhelming 10×10 plot for a first season.

Step 3 – Build or Assemble Your Frame
- DIY: Cut lumber to size and secure corners with screws, L-brackets, or corner stakes pounded into the ground.
- Kits: Follow the manufacturer instructions — most require no special tools.
- Level the frame so water distributes evenly.
- No bottom needed: Place directly on the ground to allow drainage and earthworm access.
Step 4 – Add Optional Weed Barrier and Drainage
- Hardware cloth (1/4" mesh): Lay across the bottom to deter gophers and moles.
- Landscape fabric: Blocks weed growth from below.
- Cardboard layer: Lay flattened cardboard boxes on the ground under your bed — it smothers existing grass and weeds and breaks down into organic matter over time.
- Skip solid bottoms: They block drainage and prevent soil life from entering.
Step 5 – Fill with Quality Soil Mix
The 3-component formula for raised bed success:
- Topsoil — the foundation
- Compost — nutrition and water retention
- Sand or perlite — drainage and aeration
Buy premixed "raised bed soil" or blend your own. Fill completely to the top — the soil will settle naturally over the first few weeks. Budget tip: bulk soil delivery is much cheaper than bags for beds larger than 4×4.
Step 6 – Let Soil Settle (Optional)
Building in fall and planting in spring is the ideal timeline — it lets the soil settle, amendments integrate, and earthworms move in. If you're building in spring or summer, go ahead and plant right away. You can top off the soil as it settles.
Step 7 – Plan Before You Plant
This is the step most beginners skip — and regret. Sketch a simple layout of your bed on paper before buying a single plant. Account for the mature size of each vegetable, which crops need trellises (and where to place them so they don't shade neighbors), and spacing requirements. This prevents overcrowding and impulse buying that leads to a tangled mess mid-summer.

Raised Garden Bed Planting Guide: What Grows Best
Not all vegetables are equally forgiving of beginner mistakes. Start with these reliably productive options:
Easy Starter Vegetables
- Lettuce and salad greens — Fast-growing, can be harvested in as little as 30 days, and shade-tolerant enough to grow under taller plants.
- Bush beans — Compact, incredibly productive, and a great choice to grow with kids.
- Cherry tomatoes — Higher yield than slicing tomatoes, more forgiving of inconsistent watering; just add a stake or cage.
- Radishes — Mature in 25–30 days and make great gap-fillers between slower crops.
- Herbs (basil, parsley, cilantro) — Compact, high value per square foot, and constantly useful in the kitchen.
Spacing Guidelines
- Follow seed packet spacing (usually 12–18 inches for most vegetables).
- Square foot gardening: Divide your bed into 1-foot sections and assign one type per square.
- Place trellises on the north side of the bed to prevent tall crops from shading shorter neighbors.
Succession Planting
- Cool-season crops (lettuce, peas, spinach): Plant in early spring and again in early fall.
- Warm-season crops (tomatoes, peppers, squash): Plant after your last frost date.
- Stagger plantings every 2 weeks for a continuous harvest instead of a one-time glut.
For more planting inspiration, see Aoodor Shop's guide: Cultivating Life: Nurturing Plants in a Raised Garden Bed.

Essential Maintenance Tips for Beginner Success
Five simple practices prevent the most common first-season failures:
Water Deeply and Consistently
Raised beds dry out faster than in-ground gardens because of improved drainage and air exposure on all sides. Water deeply 2–3 times a week rather than a light daily sprinkle — deep watering encourages roots to grow downward and become drought-resilient. Water in the morning to reduce fungal risk. A drip irrigation system or soaker hose is worth the small investment.
Feed Your Soil
Add a 1–2 inch layer of compost each spring before planting. During the growing season, apply a balanced organic fertilizer every 3–4 weeks. Yellowing leaves are often a sign of nitrogen deficiency — a quick compost top-dressing usually corrects it within a week.
Mulch to Retain Moisture
A 2–3 inch layer of straw, wood chips, or shredded leaves on the soil surface reduces watering needs by up to 50%, suppresses weed growth, and regulates soil temperature during heat waves and cool nights.
Stay on Top of Weeds
A five-minute weekly weed patrol prevents major infestations. Pull weeds when the soil is moist — roots come out cleanly. Raised beds require far less weeding than in-ground gardens, but staying consistent matters.

Monitor Pests Early
- Check the undersides of leaves weekly — that's where aphids, spider mites, and caterpillar eggs hide.
- Hand-pick larger pests like hornworms and beetles.
- Use row covers to protect vulnerable seedlings from early-season insects.
- Companion planting: Marigolds and aromatic herbs like basil deter several common pests.
Common Beginner Mistakes to Avoid
These four pitfalls trip up most first-year gardeners — now you know to watch for them:
- Under-filling the bed: Always fill soil to the very top. Natural settling will drop it an inch or two on its own — you want that headroom.
- Skipping the planting plan: Sketch a layout before buying plants. Impulse purchases lead to overcrowded beds where nothing thrives.
- Overwatering: Stick your finger 2 inches into the soil. If it's still moist, wait. Only water when the top 2 inches are dry.
- Planting too early: Look up your USDA Hardiness Zone and last average frost date. Warm-season crops planted too early get stunted or killed by a late frost.
Your First Raised Bed Garden Starts Now
You now have everything you need to start raised bed vegetable gardening successfully. The combination of soil control, simplified maintenance, and a higher success rate makes raised beds the smartest choice for any beginner gardener — and a worthwhile upgrade even for experienced ones.
Here's your action plan for this week:
1. Choose your bed location (6–8 hours of sun, near water).
2. Select your materials and finalize your dimensions.
3. Build or order your raised bed.
4. Fill with a quality 3-part soil mix.
5. Start with 3–5 easy vegetables from the list above.
Your garden doesn't need to be perfect — just thoughtful. Start small, learn as you grow, and enjoy fresh vegetables from your own backyard this season.
Ready to get started? Visit Aoodor Shop and browse the garden supplies collection to find everything you need for your first raised bed.

